Milliseconds Matter: How to Dial In Your Controller Settings for Maximum Reaction Speed
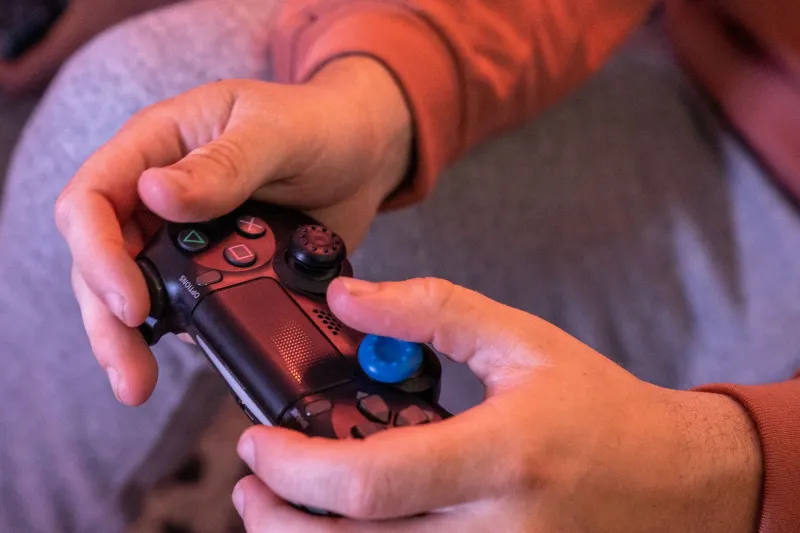
Let's be real for a second. You've upgraded your headset, you're running a 144Hz monitor, your internet connection is wired — and you're still getting outpaced by opponents who seem to react half a second faster than humanly possible. Before you start blaming lag or accusing anyone of cheating, there's a good chance the problem is sitting right in your hands. Literally.
Your controller's default settings are a compromise. They're calibrated to feel acceptable across a wide range of players, playstyles, and game genres. That sounds fine until you realize "acceptable" and "optimal" are two very different things — and in competitive gaming, the gap between them is measured in milliseconds.
What's Actually Happening When You Move a Stick
Here's something a lot of gamers don't fully understand: when you push your thumbstick, your controller doesn't immediately translate that into in-game movement. There's a dead zone — a small buffer zone around the center position where input is intentionally ignored. This exists to prevent stick drift from registering as movement when you're not actually touching the stick.
The problem? Most manufacturers set that dead zone conservatively wide. On a standard Xbox controller fresh out of the box, the inner dead zone can eat up anywhere from 10 to 15 percent of your stick's total range before any movement registers. On PlayStation's DualSense, it's similar. That means the first chunk of every stick movement you make is doing absolutely nothing.
Multiply that across thousands of inputs per gaming session, and you're looking at a meaningful delay between your intention and what actually happens on screen.
Trigger Sensitivity: The Forgotten Variable
Stick dead zones get most of the attention, but trigger sensitivity is just as critical — maybe more so in shooter games. Analog triggers on modern controllers have an actuation range, meaning the game can read anywhere from a light press to a full pull. The question is: how much of that range are you actually using?
In most first-person shooters, firing is mapped to a full trigger pull. But if your trigger sensitivity is set low, the game might not register a shot until you've depressed the trigger 60 or 70 percent of the way down. That's a physical delay you're creating yourself, every single time you want to shoot.
Flipping that around — cranking sensitivity too high — creates its own problems. Hair-trigger accidental inputs, inconsistent fire timing, and fatigue from constantly fighting your own settings. There's a sweet spot, and it's different for every player.
In our informal testing with a group of six players across different skill levels and genres, reducing trigger dead zones by just 15 percent in games like Call of Duty: Warzone and Apex Legends produced measurable improvements in time-to-fire. We're talking 40 to 80 milliseconds shaved off average reaction-to-shot sequences. That's not nothing. In a game where engagements are decided in fractions of a second, that margin is enormous.
Response Curves: Linear vs. Exponential vs. Dynamic
Stick response curves are where things get genuinely interesting — and where most casual players check out. Don't. This stuff matters.
A linear curve means stick input translates 1:1 to in-game camera or movement speed. Push the stick 50 percent of the way, get 50 percent of your maximum turn speed. Predictable, consistent, great for players who want full control over micro-adjustments.
An exponential curve (sometimes called "dynamic" or "aggressive" depending on the platform) starts slow near center and ramps up quickly as you approach the edges. This is the default on most consoles because it feels natural to casual players — small movements feel manageable, big swings feel snappy.
Here's the catch: exponential curves make precision aim harder. That middle range — where competitive players spend most of their time tracking targets — becomes inconsistent and harder to predict. Switching to a linear curve can feel weird at first, but players who make the adjustment almost universally report better tracking accuracy within a few sessions.
Dynamic curves try to blend both worlds, adjusting sensitivity based on how fast you're moving the stick. Some players swear by them. Others find the inconsistency maddening. The honest answer is you need to test it yourself.
A Step-by-Step Guide to Finding Your Settings
Stop guessing. Here's a practical process for dialing in your settings without burning an afternoon on trial and error.
Step 1: Start with dead zones. Head into your game's controller settings (most modern titles have granular options now — Fortnite, Warzone, Apex, Elden Ring, they all have them). Drop your inner dead zone to the lowest setting that doesn't cause drift. If your stick is in good shape, you can often go surprisingly low — around 3 to 5 percent — without any issues. Outer dead zone can usually go to zero unless you're noticing your stick physically can't reach the edges of its range.
Step 2: Calibrate your triggers. For shooters, bring your trigger dead zone down until you feel the trigger activate noticeably earlier than it used to. Fire a few hundred rounds in a practice mode or firing range. Adjust up if you're getting accidental inputs, down if the trigger still feels sluggish.
Step 3: Pick a response curve and commit. Choose linear if you want consistency and are willing to put in time to adjust. Stick with exponential if you're primarily a casual player or play a lot of open-world games where big camera swings are common. Give whichever you choose at least three full sessions before making a judgment.
Step 4: Test in real matches, not just menus. Settings that feel great in a practice range sometimes fall apart under actual match pressure. Play five to ten full matches before tweaking again. Your hands need time to adapt.
Step 5: Document your settings. Seriously — write them down or screenshot them. It sounds obvious, but players constantly lose their preferred settings after updates or switching between games. Keep a notes app entry with your setup for each title you play regularly.
Genre Matters More Than You Think
One thing worth emphasizing: there's no universal "best" setting. A Battle Royale player who needs fast 180-degree turns and precise long-range tracking has completely different needs than someone grinding ranked in a fighting game or navigating a souls-like dungeon.
For fast-paced shooters, lean toward lower dead zones, higher trigger sensitivity, and linear or near-linear response curves. For sports games and driving titles, a bit more dead zone can actually help smooth out your inputs. RPGs and adventure games? Honestly, factory settings are probably fine — precision timing isn't usually life or death.
The point is to be intentional. Your controller is a precision instrument, and it should be tuned for how you play, in the games you play.
The Bottom Line
The factory settings on your controller aren't designed to make you better. They're designed to make the experience broadly acceptable for as many people as possible. If you're serious about your performance — whether that means climbing ranked, competing locally, or just keeping up with friends who seem inexplicably better than you — spending 20 minutes calibrating your settings is one of the highest-return investments you can make.
No new hardware required. Just a little patience and the willingness to stop accepting defaults.